{Affiliate links used. Thanks for supporting this blog.}
All you need are these larger binder clips
Cut a piece of scrapbook paper so that it can go around the outside of the binder clip (the black part). I just measured the paper around it and marked off where I should cut. I used a paper cutter to get a straight edge.
Next use the UHU glue to glue the paper to the clip.
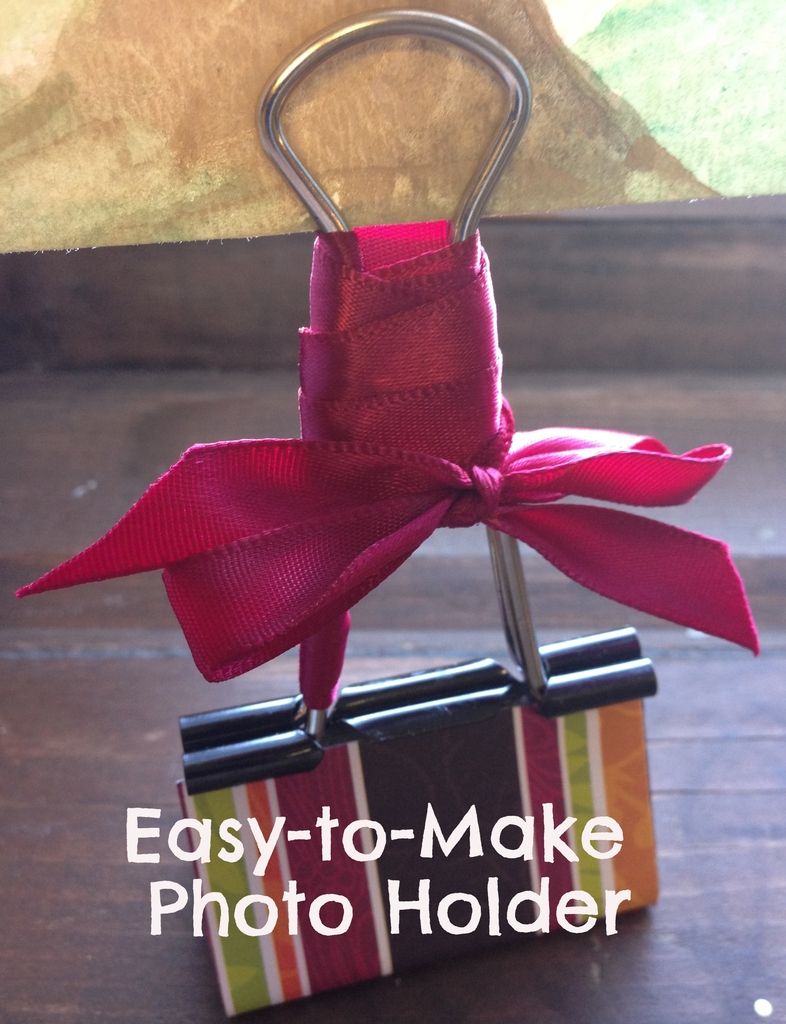
Using a long piece of ribbon, wrap the ribbon up one side of the clip. I start at the top and leave a little of one end loose (enough to tie a bow with) and then use the longer end to wrap the one side of the clip. This means you have to wrap the ribbon down the clip and then come back up with it so that it meets the other loose end. Then you tie the loose ends into a bow. Trim the ends so they aren't too long.
See?
I then take shorter pieces of ribbon of various coordinating colors and knot them on the other side. At the top of that pile of ribbon, you can take a brad and slip its back end in between the prongs of the clip. Then bend the brads ends so that it is secure. It is probably hard to see in this picture. You could also get jewelry wire and beads to decorate your clip. Just twist the wire about the prong and do "curls" with the wire (by curling it round a pencil). Attach small beads to each end of the wire.
You can then use your decorated binder clip to hold a recipe card or a picture!
Happy Crafting!


6 comments:
This is so cute Debbie! I'll have to make some of these!
Checking to see if this works.
How super cute! It would make a great teacher's gift!
Supercute! And I agree with your other readers, these would be a fab teacher's gift (and I am a teacher!)
Stop by and see me sometime over at Free 2 Be Frugal.
THat is really cute! It looks like a pretty fast and fun project. I like that kind. :-)
just got my supplies. These are so great! functional, pretty, inexpensive and travel easily. Thanks for sharing!
Post a Comment