Showing posts with label Stamping. Show all posts

Garden Markers

Wednesday, May 16, 2012


I recently found a great project online to make garden markers using oven-baked clay and letter rubber stamps. I don't absolutely need markers for my garden, but I have had this clay laying around for AGES and thought this was cute and easy enough to do.  I did have to go through a test run batch.  They turned out too big and fat.  I would actually use a little less clay for each marker than given in the instructions.  I also realized that they looked better if you start the stamping at the end of the word and work your way back to the beginning.  That way your word ends at the end of the stick.

{Noah stamping out the letters}

I can't wait to start digging in the garden!

Waterfall Cards

Wednesday, March 16, 2011


Going to be trying this type of card soon!  So cool!

Bookmark Cards

Friday, January 21, 2011


I made some of these (see above video) for those I am mentoring through the Bible in 90 Days.  Here are my results:


Gift Card Holders

Saturday, December 18, 2010


I recently made some gift card holders for Christmas.  I just love being creative and making my own card holders.  I have to admit though that the creativity isn't my own.  I totally love to copy others!  Here are some cool tutorials for gift card holders.

Favorite Card Designs

Tuesday, December 14, 2010

{Tri-Shutter Card}

Lately, I have been exploring making some creative cards.  Splitcoast Stampers is a great place to find tutorials for different fun types of cards. Many of these tutorials have a video at the end that takes you through the creation of the card step by step.  Here are my favorites:


Tri-Shutter Cards

Tuesday, December 7, 2010


I recently made this tri-shutter card.  It looks so complicated, but it isn't!  I was amazing.  The instructions are on Splitcoast Stampers, a site that I love for new ideas in papercrafting.  If you scroll down to the bottom you can see a video on how to make the card.

Christmas Already???

Thursday, October 28, 2010

I am getting started on my Christmas cards!  I have nearly 50 to make...this past Saturday I sat down and created about 16 of them.  Here are a few pictures.


Altered Clipboard Instructions

Sunday, June 20, 2010

I have had a few readers ask about instructions for making altered clipboards.  Here are the instructions that I used. Although I have never done stamping on them...I just do the decorative papers. One reader mentioned that she had problems with the Modge Podge being sticky.  I have never had this problem.  But if you go to the instructions you will see a solution for it.

Christmas Cards for This Year

Friday, November 27, 2009

Here are some samples of some of the cards I am sending out this year...


I love hedgehogs!


This is probably the most complex Christmas card I have ever done. To keep it closed it is wrapped in ribbon with a star in the appropriate place.


Here is the inside of the card. I made about 10 of these, and it took me about an hour and a half.  Kind of labor intensive!


Cards Made to Order...

Tuesday, October 20, 2009

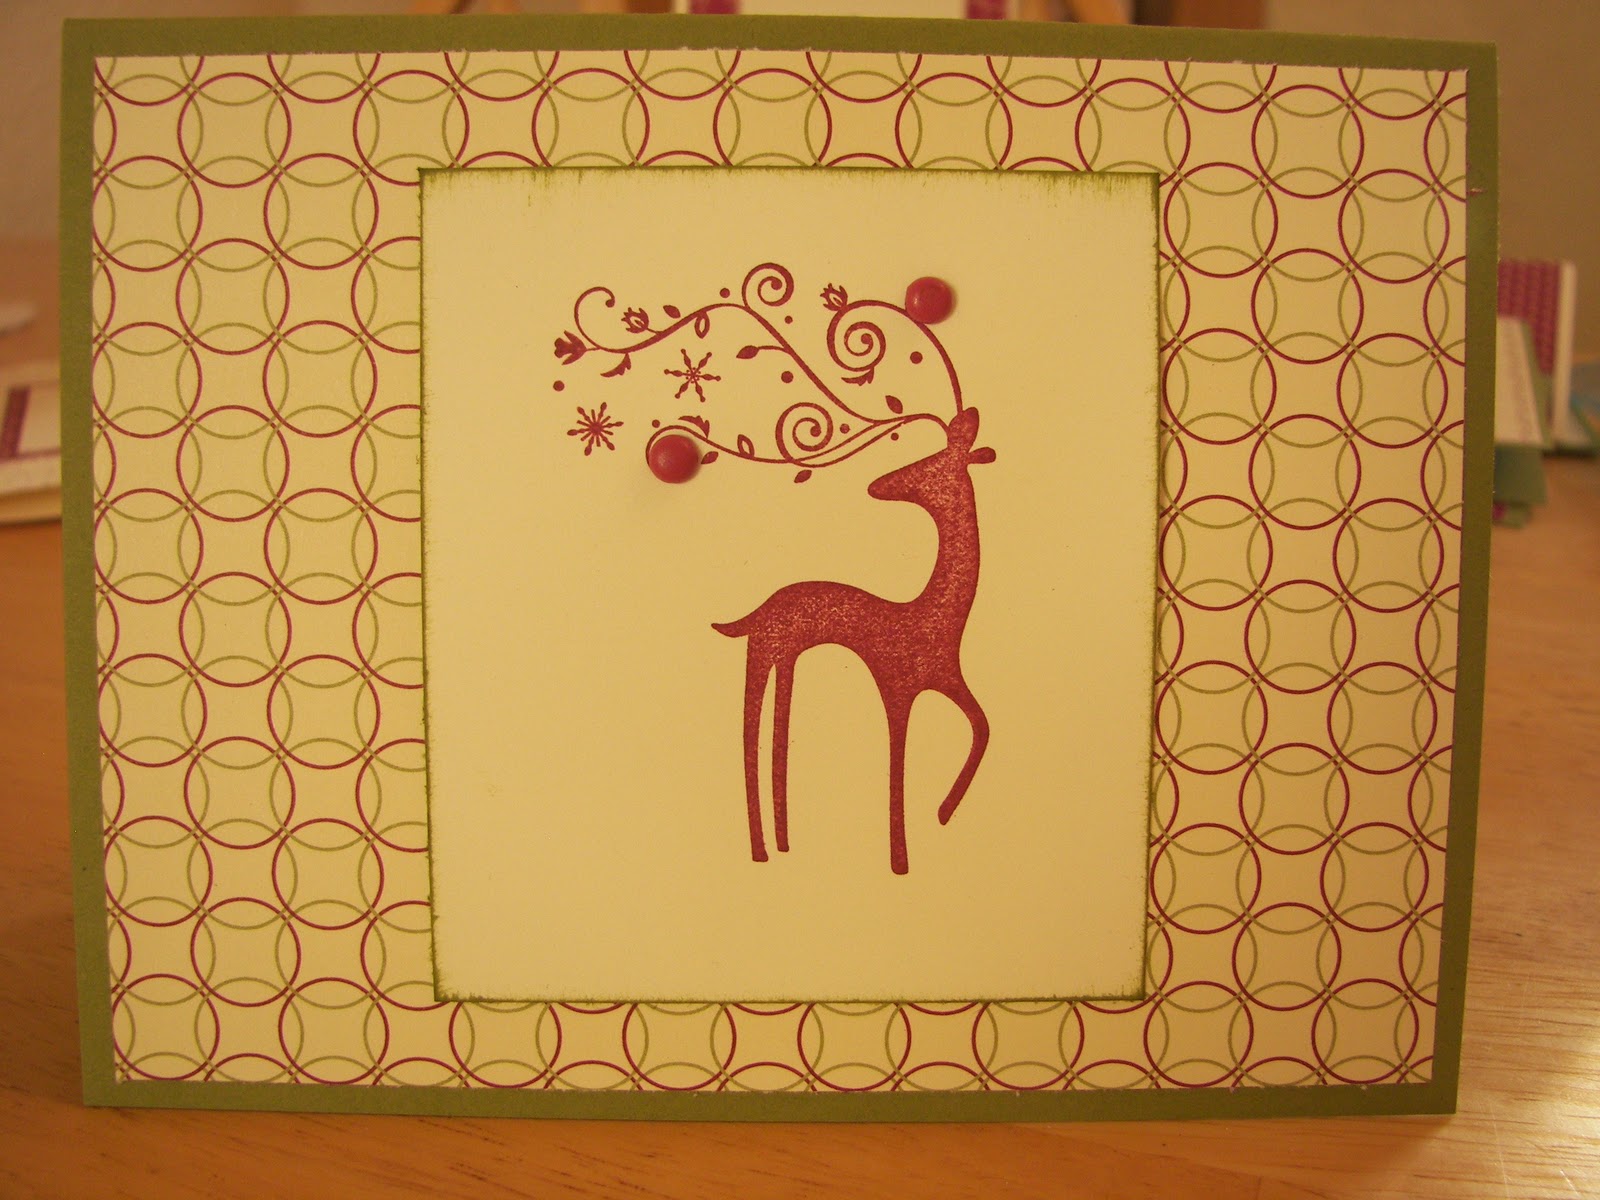
I have been selling my cards for over a year now.  For the first year I had them at a local shop.  The shop eventually closed down, and my dear friend offered to sell them at her workplace because many of the women were interested in handmade cards. Well, this past week I got my first "order" for a set of cards...20 of them for a going away party. They are made with old olive and rich razzleberry two colors from Stampin' Up! Here are the outsides and insides of the cards...

I am hoping to do more card orders in the future! It is a great way to make a little money and do the hobby I so enjoy!


Grammar Game

Sunday, February 22, 2009

I just received my order from Bare Books, and I am so impressed with the quality of the materials! I ordered some spiral notebooks...I am thinking that we are going to do some of our lapbooking in these. I bought the really large spiral books and then a smaller size.
I also bought a game board. I am really impressed with it and wish that I had ordered more! For only $3.95 I got a really nice quality game board. I decided to make a grammar game for the boys. For Zach this game will be more of a review, but this is some of what Noah is learning in First Language Lessons this year. I made a parts of speech game. I decorated the middle of the board using pigment ink and a frog stamp. I let it dry overnight since it seems to take pigment ink forever to dry. I then put the parts of speech in the spaces along the edge: noun, pronoun, verb, adjective, adverb, preposition, conjunction, and interjection. I then made cards with sentences on them (all relating to frogs or quotes from Frog and Toad). I underlined a word in the sentence. Here is an example: "Toad thought about giant sunflowers." If someone picks this card he will have to figure out what part of speech "giant" is and then go to the next space on the board marked "adjective". I also put a few cards in there saying, "Hop back two spaces.", "Hop to the next noun space.", "Hop forward 1 space." The object of the game is to be the first to go around the board.

I got this game idea from a great book called Games...Tools for Learning by Janice and Mark Vreeland. I have used this book for several years...it has ideas for board games, card games, and my favorite...what I would call the "honeycomb game". This book has well been worth the price if you want to incorporate learning games into your school day. The book is available at Rainbow Resource.

More Altered Clipboards

Sunday, February 15, 2009

Here are a couple more altered clipboards that I finished this afternoon. I love making these...although they do take a bit of time. I will take this to The Stash which is a local store that sells "all things handmade". We will see if they sell.


Altered Clipboard

Saturday, February 14, 2009

Here is my first attempt at an altered clipboard. My friend, Linda, came over for a few hours today to show me how they are done. It turned out surprisingly well for my first attempt...although I have to admit that the flower is strategically placed to cover up a small tear in the paper. We didn't do any stamping on the clipboards we made today. We painted the clipboards, used Modge Podge to adhere the paper and then used ribbons and flowers to decorate. I gave this one away to a friend's daughter, but I plan to make more and sell them at The Stash where I sell my stamped cards.

Weekend Cards

Monday, January 5, 2009


I spent a few hours this weekend stamping with a friend of mine. Here are some of the results.

Sour Cream Containers

Saturday, November 22, 2008

A friend of mine showed me how to make these cute "sour cream containers" made of decorative paper that you can fill with small goodies like candies. I will be making some of these for Christmas! Here are the instructions: http://www.splitcoaststampers.com/resources/tutorials/sour_cream_container/